Road/Lane Closure Application
User guide (utility admin)
1.1 Create an Account
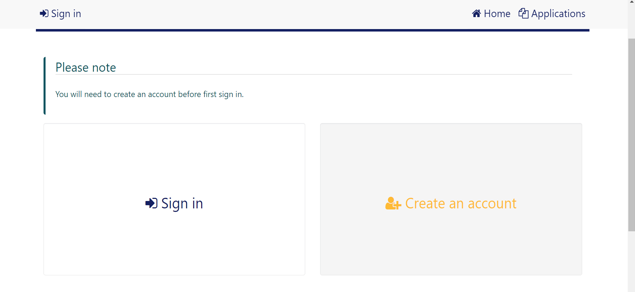
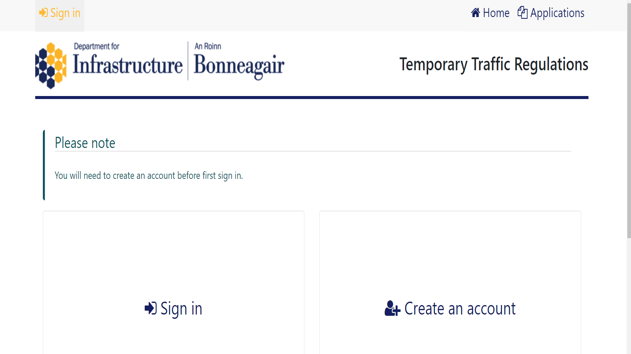
From the Home screen click on the “Create an account” tile:
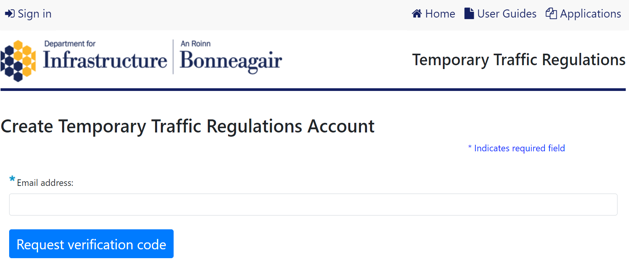
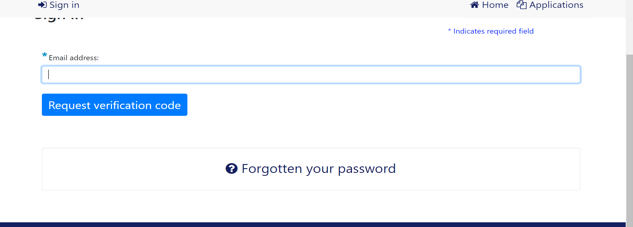
Now enter your Online Account Admin Email address you wish to use when logging into your account and click “Request verification code”:
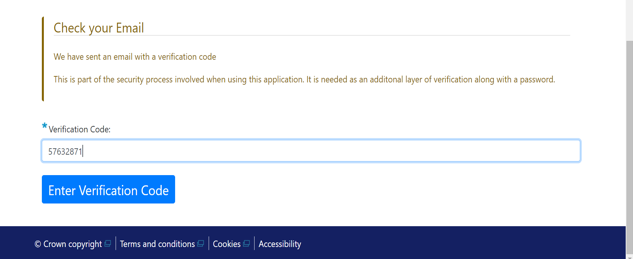
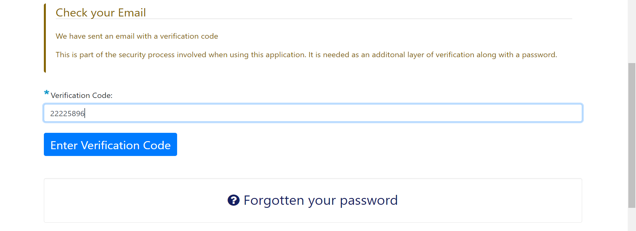
Next, you’ll receive an email containing a verification code, enter it in the textbox provided and click “Enter verification code”:
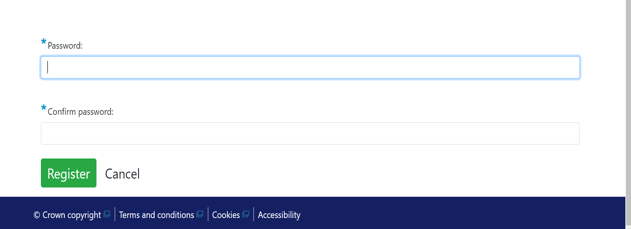
You now have to create a password. You’ll use the password you create along with a unique verification code to log in.
- Must have at least 6 characters
- Must have at least one non letter or digit character (special character)
- Must have at least one digit ('0-9')
- Must have at least one lowercase ('a-z')
- Must have at least one uppercase ('A-Z')
Enter your password in the textbox shown below and click “Register”:
1.2 Login
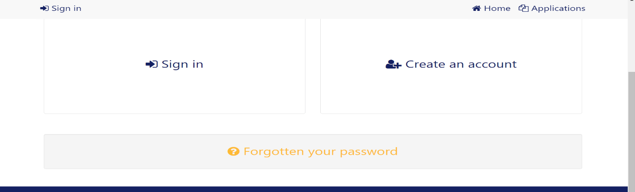
From the Home screen click the “Sign in” tile:

Or use the “Sign in” link to the left of the navigation bar at the top of the screen to log in, and out:
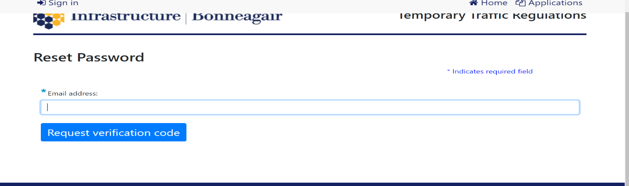
Next, enter your Online Account Admin Email address you used for creating your account and click “Request verification code”:
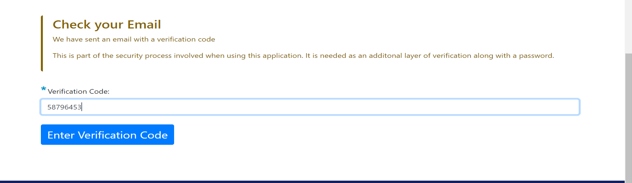
You will receive an email containing a verification code. Enter the code in the text box below and click “Enter verification code”:
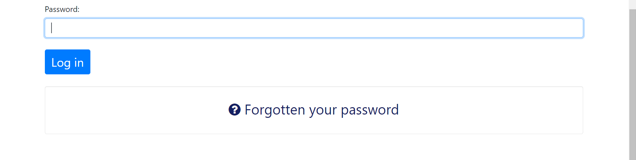
Now, enter the password you chose when creating your account and click “Log in”:
1.3 Forgot Password
If at any point you forget your password you can reset it yourself by clicking the “Forgotten your password” tile, found on the Home screen and the Login screen:
Enter your Online Account Admin Email address you use for logging into your account then click “Request verification code”:
You will receive an email containing a verification code. Enter the code in the text box below and click “Enter verification code”:
Now, enter a new password for use when logging into your account:
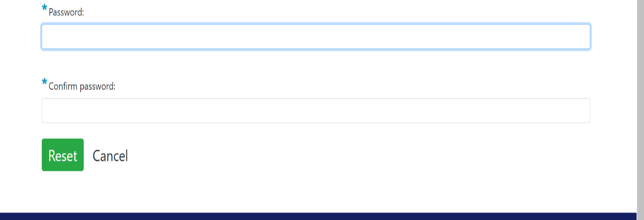
NOTE: The same password requirements apply.
2. Welcome
The Welcome screen is the first you’ll see once logged in:
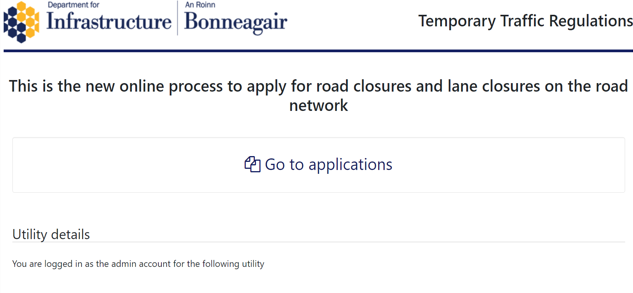
Clicking the “Go to applications” tile will take you to the Applications screen where you can view applications made on your behalf by linked contractors.
The Utility details section displays the current details held for your Utility:
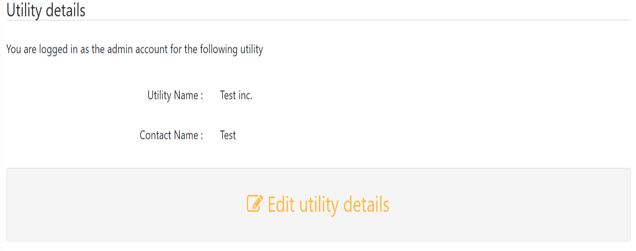
Click the “Edit utility details” tile to edit any of the details.
The Utility Login(s) section displays all the email addresses which have been given access to view, add or edit applications on behalf of your Utility:
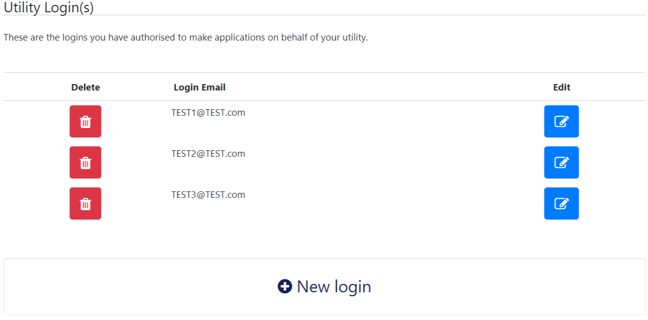
To add a new login click the “New login” tile.
Use the Red button to the left of the table to Delete a login.
Use the Blue button to the right of the table to Edit a login.
3. Applications
This is the Applications screen, from here you can view any applications for your selected Utility:
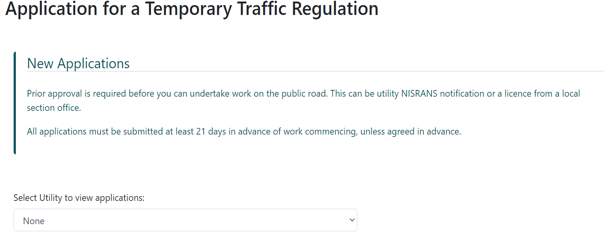
NOTE: Ensure you read the info text on screen about New Applications and prior approval.
NOTE: As a Utility you need to provide a Utility Purchase Order to your desired contractor in order for them to process applications.
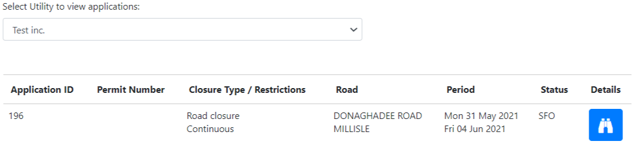
To view current applications for your Utility, select an option from the dropdown list provided. Any Applications will be shown in a table below the dropdown:
When logged in as an Online Account Admin you cannot add or edit applications. You can only view applications which have been entered on your behalf by the email addresses (contractors etc.) you have given access to.